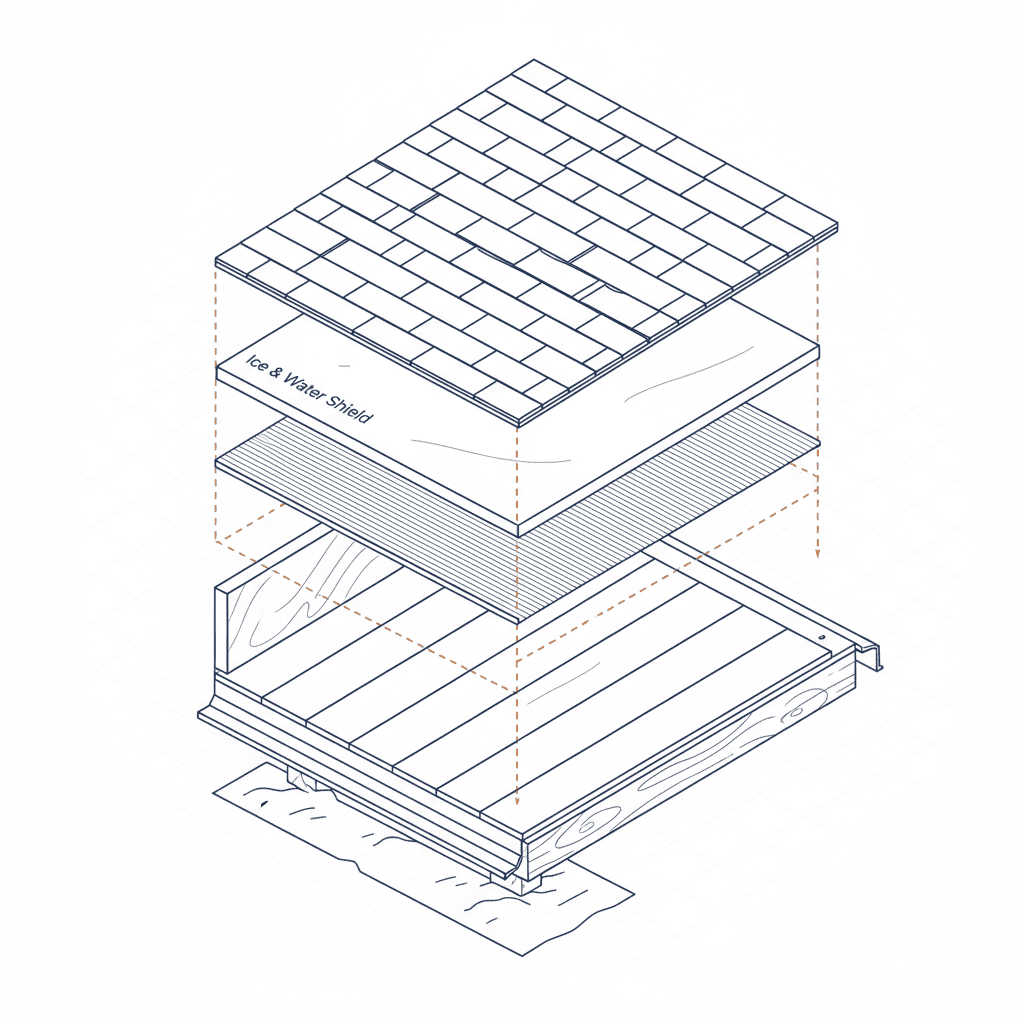
Ice and water shield is a self-adhered, polymer-modified bitumen membrane that functions as a critical waterproofing layer within a complete roofing system. A roof is the top covering of a building, engineered to provide absolute protection against environmental forces like rain, snow, sunlight, and extremes of temperature. When one component of this system fails, the entire structure is compromised. The formation of an ice dam is a clear indicator of a thermodynamic failure in the roof and attic assembly, a failure that ice and water shield is specifically designed to mitigate.
The standard roofing process invites chaos. Homeowners are subjected to vague timelines, unpredictable costs, and a constant fear of subpar work leading to future failures. We reject this model. Our methodology is built on transparency, predictability, and a deep respect for your home as a significant asset. This document provides a technical breakdown of ice dam prevention, not as a sales pitch, but as a clear, logical framework for protecting your investment. If your primary decision-making criterion is the lowest possible price, we are not the right contractor for you. Our process is for meticulous homeowners who understand that the highest risk lies in the cheapest bid.
Ice Dam Formation: A Roof System Failure Analysis
An ice dam is not a random occurrence; it is the direct result of a predictable thermal process. It signals a failure of the roof system to manage heat loss and meltwater, compromising its primary function of protecting the building envelope from moisture ingress.
The Thermodynamics of Attic Heat and Exterior Snow Pack
Ice dam formation begins with uncontrolled heat loss from the living space into the attic. Inadequately sealed air leaks or insufficient attic insulation creates a thermal bridge, warming the underside of the roof deck. This heat conducts through the wood sheathing and shingles, raising the roof surface temperature above freezing, even when the ambient air temperature is much lower. The snow pack in contact with the warmed section of the roof melts. Gravity pulls this meltwater down toward the eaves. As the water flows over the unheated overhangs and gutters, it refreezes, creating a small ridge of ice. This freeze-thaw cycle repeats, accumulating more ice and forming a progressively larger dam. This dam blocks the drainage path for subsequent meltwater, causing it to pool on the roof.
Mapping Water Intrusion Pathways: The Consequences of System Failure
Standing water, trapped behind an ice dam, presents a significant threat to the building envelope. Shingles are designed to shed water, not to be submerged in it. The pooled water works its way under the shingle edges and through the seams, reaching the nail penetrations that secure them to the roof sheathing. Without a secondary waterproof barrier, this moisture ingress saturates the wood deck, leading to rot and structural degradation. From there, the water travels into the soffits, down exterior and interior walls, and into ceilings. The resulting water damage manifests as stained drywall, ruined insulation, and the potential for mold growth, turning a simple roofing issue into a costly, multi-trade remediation project.
Ice & Water Shield: Material Science and Protective Function
Ice & water shield acts as an impermeable barrier precisely where a roof covering is most vulnerable to ice dams. Its material composition and functional mechanism are engineered to prevent water intrusion where standard underlayments fail.
Composition Analysis: Understanding Modified Bitumen and Adhesives
Ice and water shield is a composite self-adhered membrane. Its core component is polymer-modified bitumen, often referred to as rubberized asphalt. This material combines the waterproofing properties of asphalt with the flexibility and durability of synthetic rubber polymers. This blend ensures the membrane remains pliable at low temperatures and stable at high temperatures. The bottom surface features a high-tack adhesive, protected by a removable release liner. This adhesive creates a continuous, fully-bonded seal with the roof deck, eliminating pathways for water to travel underneath the membrane.
Material Composition Breakdown
| Component | Function |
|---|---|
| Polymer-Modified Bitumen (Rubberized Asphalt) | Provides a flexible, durable, and waterproof core. |
| High-Tack Adhesive | Ensures a continuous, aggressive bond to the roof deck. |
| Reinforcement Mat (Fiberglass or Polyester) | Adds dimensional stability and tear resistance. |
| Release Liner | Protects the adhesive layer prior to application. |
| Anti-Slip Top Surface | Provides a safe, walkable surface for installers. |
Functional Mechanism: How the Membrane Self-Seals Around Fasteners
The defining characteristic of ice and water shield is its self-sealing capability. Every shingle or tile is attached with nails or staples that penetrate the underlayment and the roof deck. Each of these penetrations is a potential point of water penetration. When a fastener is driven through ice and water shield, the viscous, rubberized asphalt in the membrane flows and compresses around the fastener’s shank. This action creates a tight, waterproof gasket, effectively sealing the penetration. This self-sealing function is the critical difference between ice and water shield and standard felt or synthetic underlayments, which offer no such protection against water intrusion at fastener points.
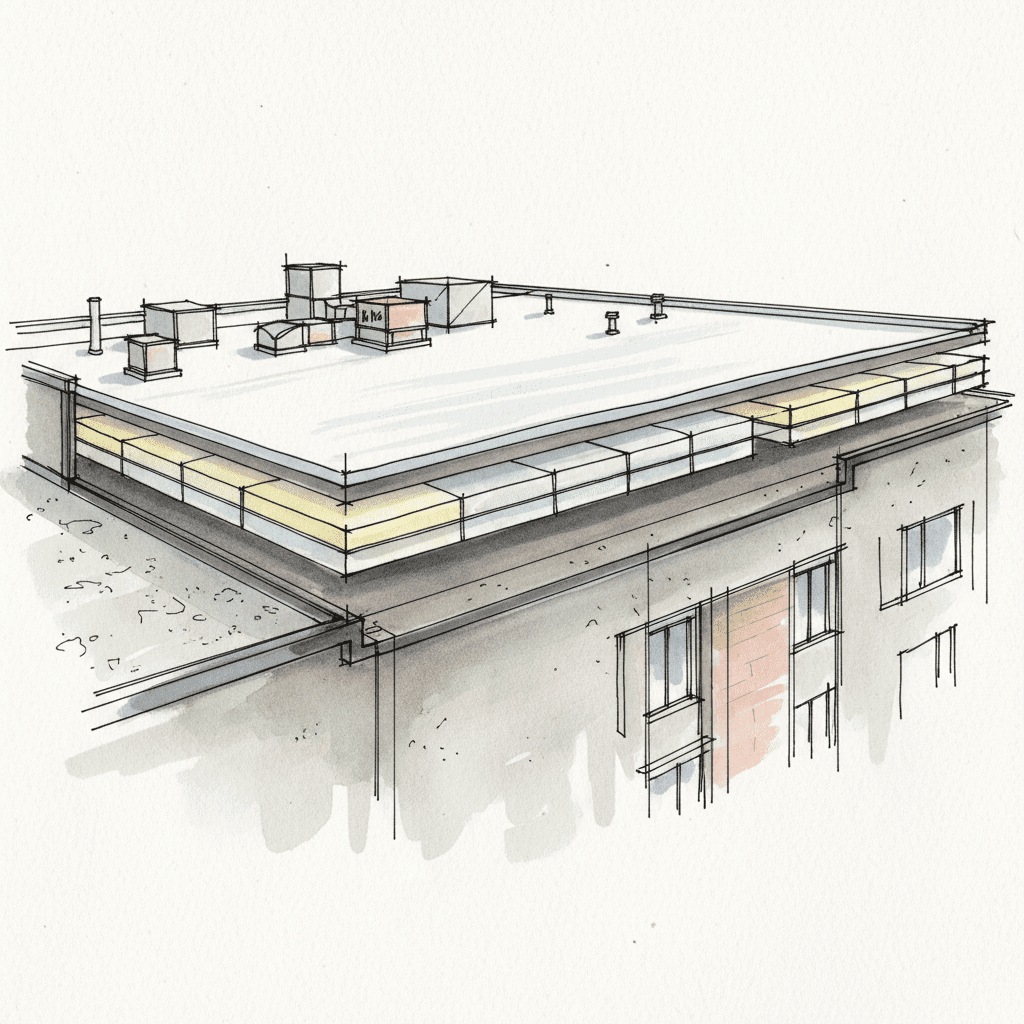
Strategic Application: Mapping Shield Placement to Roof Constructions
Effective protection requires precise, strategic application. The architectural plan of the building dictates where this membrane must be installed. It is not applied to the entire roof deck; rather, it is deployed at the roof constructions most vulnerable to ice damming and water intrusion.
Eaves and Overhangs: Establishing the Primary Line of Defense
The eaves are the primary location for ice dam formation and therefore the most critical area for protection. Building code and manufacturer specifications mandate that the shield be applied from the drip edge at the gutter line upward. The membrane must extend up the roof to a point at least 24 inches inside the plane of the building’s exterior wall. This ensures that any water pooling behind an ice dam cannot infiltrate the building envelope. It covers the cold overhang and extends onto the warm section of the roof deck, creating a continuous waterproof barrier where it is needed most. Proper installation involves lapping the membrane over the fascia board and under the drip edge to direct all water into the gutter system.
Critical Vulnerabilities: Sealing Valleys, Vents, and Skylights
Beyond the eaves, ice and water shield is required at all points of high water concentration or roof penetration.
- Roof Valleys: Valleys collect and channel large volumes of water from two adjoining roof planes, making them highly susceptible to leaks, especially from wind-driven rain or ice buildup. A full, continuous strip of ice and water shield down the center of the valley is non-negotiable.
- Chimneys and Skylights: The junctions between the roof deck and any vertical penetration like a chimney or skylight are inherent weak points. The membrane should be installed around the entire perimeter of the curb before flashing and shingles are applied, creating a redundant, watertight seal.
- Plumbing Vents and Exhausts: Every pipe that penetrates the roof covering requires a seal. A collar of ice and water shield applied around the pipe flange provides a secondary barrier beneath the primary pipe boot flashing.
Code Minimums vs. Performance Specifications for Total Protection
For a meticulous homeowner, understanding the difference between meeting the bare minimum building code and engineering a high-performance system is crucial. The code is not a best-practice manual; it is the absolute lowest standard of construction permitted by law.
Decoding Local Building Code: The Absolute Minimum Requirement
The International Residential Code (IRC) provides the baseline for ice barrier requirements in different climate zones. It specifies the conditions under which an ice barrier is mandatory and dictates the minimum coverage area, such as the rule for extending 24 inches inside the warm wall line. Local municipalities adopt and sometimes amend this code. A contractor who simply follows the code is doing the legal minimum to pass a roof inspection. This approach does not account for specific site conditions, complex roof geometries, or a homeowner’s desire for long-term durability and peace of mind.
A Risk-Averse Strategy: Exceeding Code for Long-Term System Integrity
A performance-based approach prioritizes long-term system integrity over minimum compliance. This strategy builds in a greater factor of safety. It may involve extending the ice and water shield higher up the eaves, using it in all valleys regardless of roof pitch, or applying it to low-slope roof sections that are prone to wind-driven rain. This is not up-selling; it is a calculated risk-mitigation strategy. It adds a marginal cost to the initial project but provides significant long-term value by creating system redundancy and drastically reducing the probability of a catastrophic water intrusion event. We operate on a performance standard, specifying a roofing system designed for durability, not just code compliance.
Our Methodical Process for Eliminating Ice Dam Risk
The antidote to the chaos of a typical roofing project is a predictable, transparent process. Every step is defined, every checkpoint is verified, and you have a dedicated project manager accessible at all times. This is the only sane way to manage a complex construction project on your home.
Step 1: Diagnostic Roof Audit and Thermal Assessment
Our process begins with a comprehensive system analysis, not a quick estimate. We assess the entire roofing system, including ventilation and insulation, using tools like thermal imaging to identify areas of significant heat loss that contribute to ice dam formation. This data informs a detailed proposal with a fixed-price quote. You will receive an exact scope of work with no hidden fees or allowances for surprise change orders.
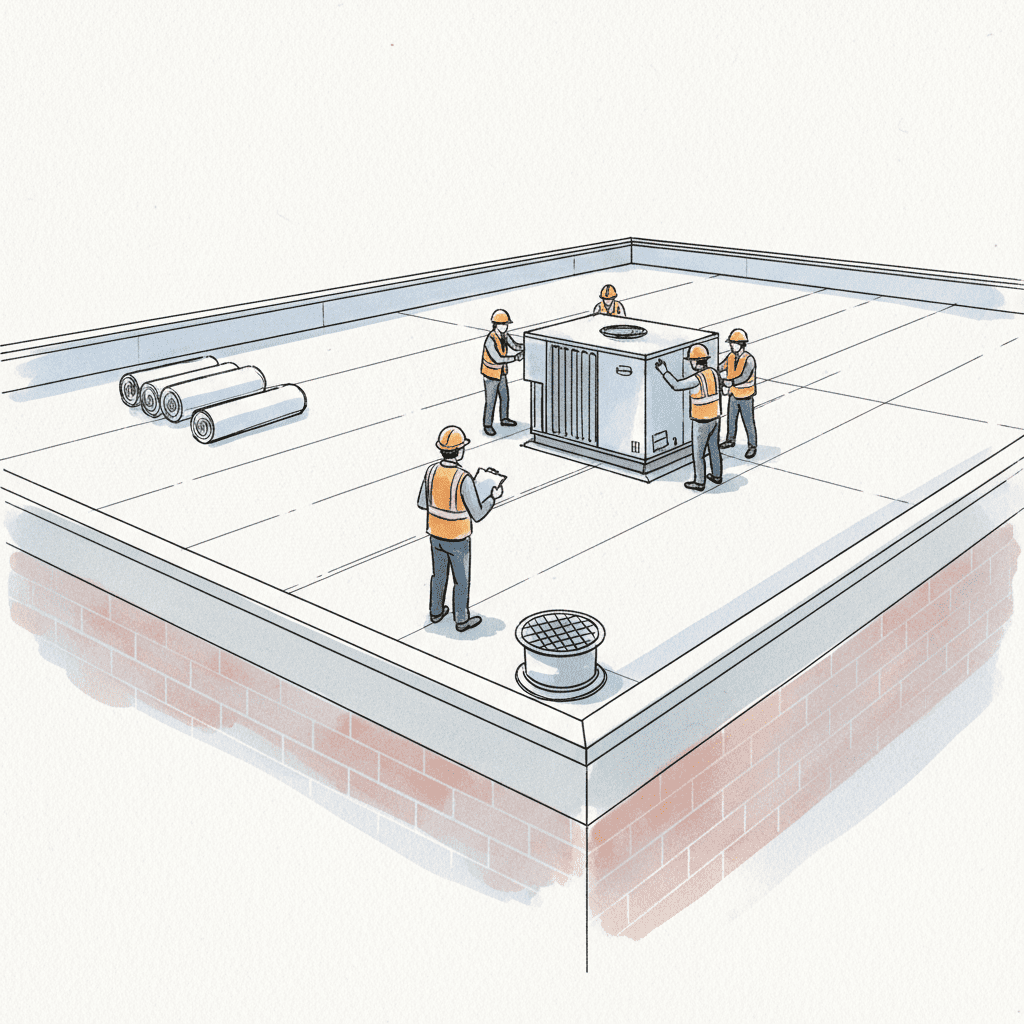
Step 2: Precision Installation with Verifiable Checkpoints
Our installation crews work from a detailed installation checklist that adheres strictly to manufacturer specifications. This is not optional. Proper temperature for application, correct lapping procedure, and meticulous detailing are all mandatory. You will receive daily progress reports from your project manager. The job site will be left clean at the end of every day. The project concludes only after a final inspection confirms every component of the system has been installed to our uncompromising standard.
Why the Lowest Bid is the Highest Risk: A Warning for Order-Driven Clients
A low bid is a red flag for project chaos. It is achieved by cutting corners that are invisible to the untrained eye. It means using substandard materials with lower performance ratings. It means skipping critical steps, like applying ice and water shield in valleys to save a few hundred dollars. It leads to vague timelines, poor communication, and the inevitable, frustrating string of change orders that inflate the final price. This approach introduces unacceptable risk. We have built our company to serve clients who, like us, believe that a predictable, orderly, and transparent process is the only way to protect a valuable asset and achieve a successful outcome.