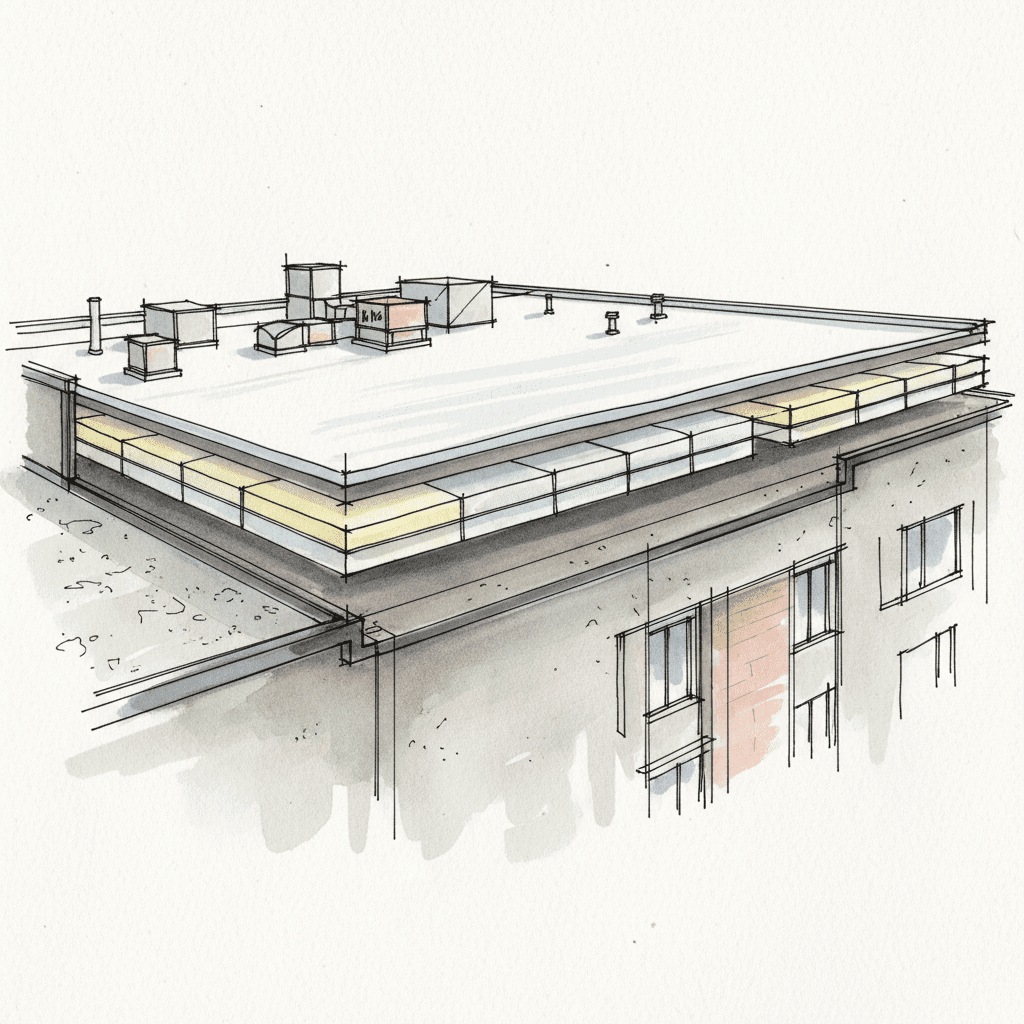
Documenting storm damage is the systematic process of collecting, cataloging, and presenting objective evidence of a roofing system’s failure to perform its primary protective functions following a weather event. A roof is the top covering of a building, engineered to provide protection against rain, snow, sunlight, extremes of temperature, and wind. When this protection is compromised, your response must be as methodical as the system that failed. The goal is to produce an undeniable record that forms the basis of a successful insurance claim and a precise scope of work for restoration.
The Objective: Transform Post-Storm Chaos into Orderly Action
The aftermath of a storm is chaotic. The typical industry response only amplifies this chaos with vague assessments and unpredictable timelines. Our approach is the antidote. This protocol is a process-driven system designed to impose order on a volatile situation. It converts ambiguity into objective data and anxiety into control. You are not a passive victim of the weather; you are the project manager of your property’s recovery. This systematic approach ensures every piece of evidence is gathered, every failure is identified, and the foundation for a predictable restoration is firmly established.
Phase 1: Pre-Documentation Safety & Triage Protocol
Before any documentation begins, a safety and triage protocol is mandatory. Your personal safety and the structural integrity of the building are the primary concerns. Attempting to document damage without first securing the site is an unacceptable risk. This phase is about hazard identification and emergency mitigation to prevent further asset degradation.
Ground-Level Assessment: Identifying Immediate Hazards
Do not climb on the roof. The initial assessment is conducted from the ground, covering the entire building perimeter. Your objective is to identify and isolate immediate threats. Look for downed power lines, unstable or fallen trees, broken glass, and significant structural shifts. Note areas of extensive water pooling near the foundation, which may indicate gutter system failure or ground saturation risks. Any identified electrical hazard necessitates an immediate call to your utility company. Your safety is non-negotiable.
Securing the Building Envelope: Emergency Mitigation
The building envelope is the physical separator between the conditioned and unconditioned environment of a building. A breach in the roof is a critical failure of this envelope. The immediate priority is to stop active water intrusion. This often requires professional emergency roof tarping. While a temporary repair, proper tarping is a critical loss mitigation effort recognized by insurance carriers. It protects the interior of your home from catastrophic water damage, mold, and electrical hazards while you execute the formal documentation process. This is not a DIY task; improper tarping can cause more damage.
Phase 2: A Systematic Framework for Damage Documentation
Successful insurance claims are built on irrefutable evidence, not anecdotal accounts. This phase establishes a systematic framework for gathering that evidence. Your documentation must be as organized and logical as an engineering report. We will use timestamped photographs, geotagging, and a simple mapping system to create a comprehensive and objective record.
Establishing a Numbered Grid System for Your Roof
To eliminate confusion, impose a grid system on your roof plan. This transforms a large, complex surface into manageable, addressable quadrants. From the ground, sketch a simple overhead view of your home’s roofline. Divide it into logical sections and label them. A common method is:
- F1: Front, Right Slope
- F2: Front, Left Slope
- B1: Back, Right Slope
- B2: Back, Left Slope
For more complex roofs, add designations for gables (G1, G2) or other features. Every photograph and note you take will be tagged with one of these location codes. This creates an objective map of the damage that is easy for any third party—an insurance adjuster, a project manager—to understand instantly.
Photographic & Videographic Evidence Standards
Your visual evidence must meet specific standards to be effective. Low-quality, disorganized photos create ambiguity, which benefits the insurance carrier, not you. Follow these protocols:
- High-Resolution Images: Use the highest resolution setting on your smartphone or camera. The ability to zoom in on a digital photo to see detail is critical.
- Timestamping and Geotagging: Ensure the location and time/date stamp features on your camera are enabled. This metadata provides a non-repudiable record of when and where the damage was documented.
- Overview Shots: For each grid section (F1, F2, etc.), take several overview shots from different angles on the ground. These establish the general condition and context of the area.
- Close-Up Shots: Document every specific point of damage (a creased shingle, a hail impact, a failed sealant). Place a reference object like a ruler, coin, or tape measure next to the damage to provide a clear sense of scale.
- Video Walkthrough: Conduct a slow, steady video walkthrough around the perimeter of your home. Narrate what you are seeing, calling out specific areas of damage and referencing your grid system.
Phase 3: Cataloging Damage by Protective Function Failure
A roof is not merely a covering; it is a system engineered to negate specific environmental forces. We will organize your documented evidence based on which protective function of the roof has failed. This aligns your claim directly with the fundamental purpose of the asset that was damaged.
Wind Damage Forensics: Documenting Uplift, Creasing & Material Separation
Wind does not just remove shingles; it compromises the entire roof covering. High winds create a pressure differential, causing uplift. This force can break the sealant bonds between shingles without completely removing them. Document shingles that are lifted, creased, or ‘flipped.’ A crease is a permanent fold in the shingle, which represents a structural failure of its matting. Also, photograph any visible fastener failures where nails have pulled through the shignle. This is a clear failure to protect against wind.
Hail & Impact Damage: Mapping Fractures and Granule Loss
The primary function of an asphalt shingle’s granules is to protect the underlying asphalt from UV degradation and provide fire resistance. Hail impacts displace these granules, exposing the asphalt. Document these ‘bruises’ or impacts. Look for circular or irregular patterns of granule loss. On metal roofing, document dents and punctures. On any surface, look for collateral damage to vents, skylights, and gutters. This is a failure to protect against impact and sunlight.
Water Intrusion Analysis: Tracing Leaks to Material & Construction Failure
Water intrusion is the most catastrophic failure of a roof’s protective function. Your documentation must connect interior water damage to an exterior failure point. If you see a stain on your ceiling, do not just photograph the stain. Go into the attic and trace the water trail up to the underside of the roof deck. Note the location, then correlate it to your exterior grid system. This demonstrates a direct failure of the system to protect against rain.
Sunlight & Temperature Effects: Identifying Accelerated Wear
Storm damage often exacerbates pre-existing conditions. Intense sunlight and extremes of temperature can degrade roofing materials over time. Document areas where sealants around flashing and penetrations have become brittle and cracked. Photograph thermal cracking in asphalt shingles. While this may be considered wear and tear, a storm can cause these weakened components to fail catastrophically. It is a relevant data point in your overall assessment.
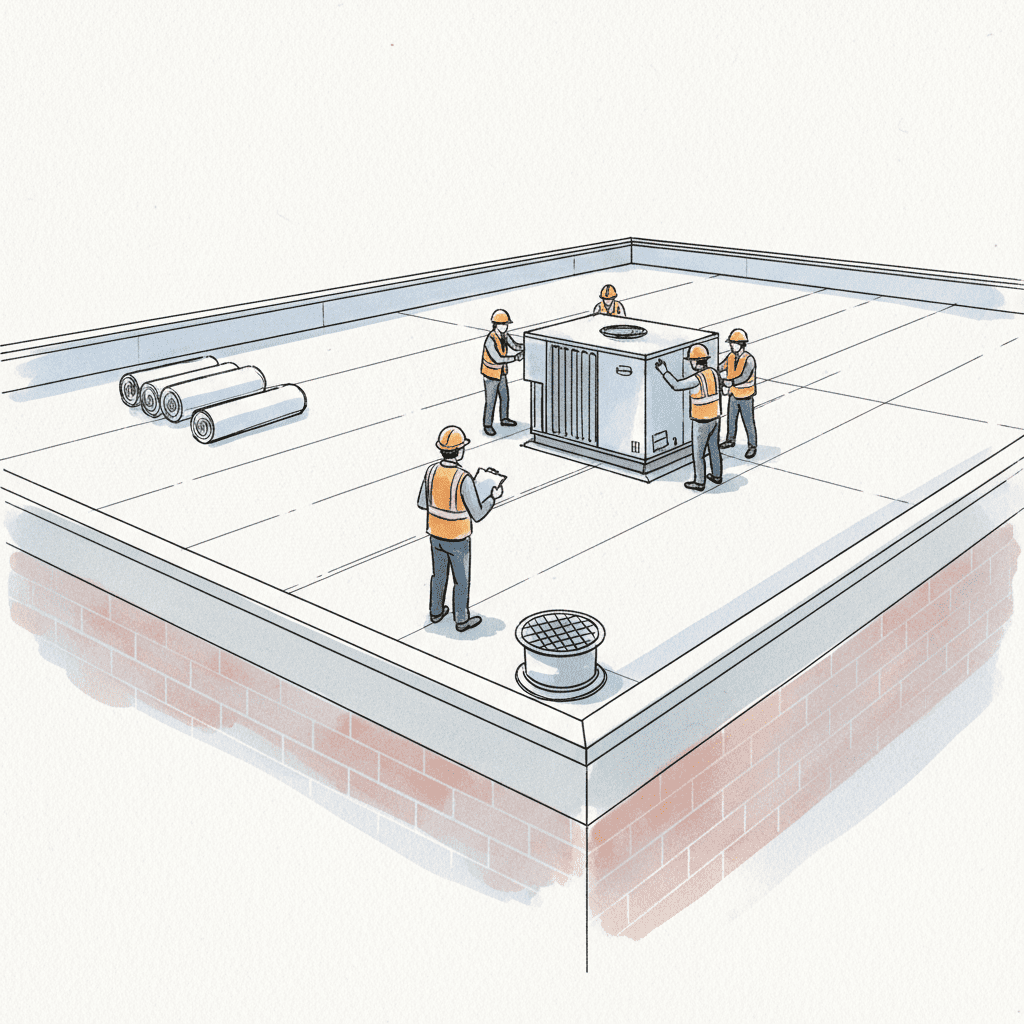
Phase 4: Inspecting the Integrity of Roof Materials & Construction
Beyond the primary roof covering, a complete inspection evaluates the entire roofing system. The construction method and integration of materials are as critical as the shingles themselves. Damage to these components can lead to systemic failure.
Verifying Flashing and Sealant Integrity at All Penetrations
Penetrations—chimneys, vent pipes, skylights—are the most common points of roof leaks. Flashing is the material, typically metal, used to direct water away from these critical junctures. From the ground, use a zoom lens or binoculars to inspect these areas. Document any flashing that is bent, dislodged, or rusted. Note any sealant that is cracked, peeling, or missing. This is a failure of a critical construction detail.
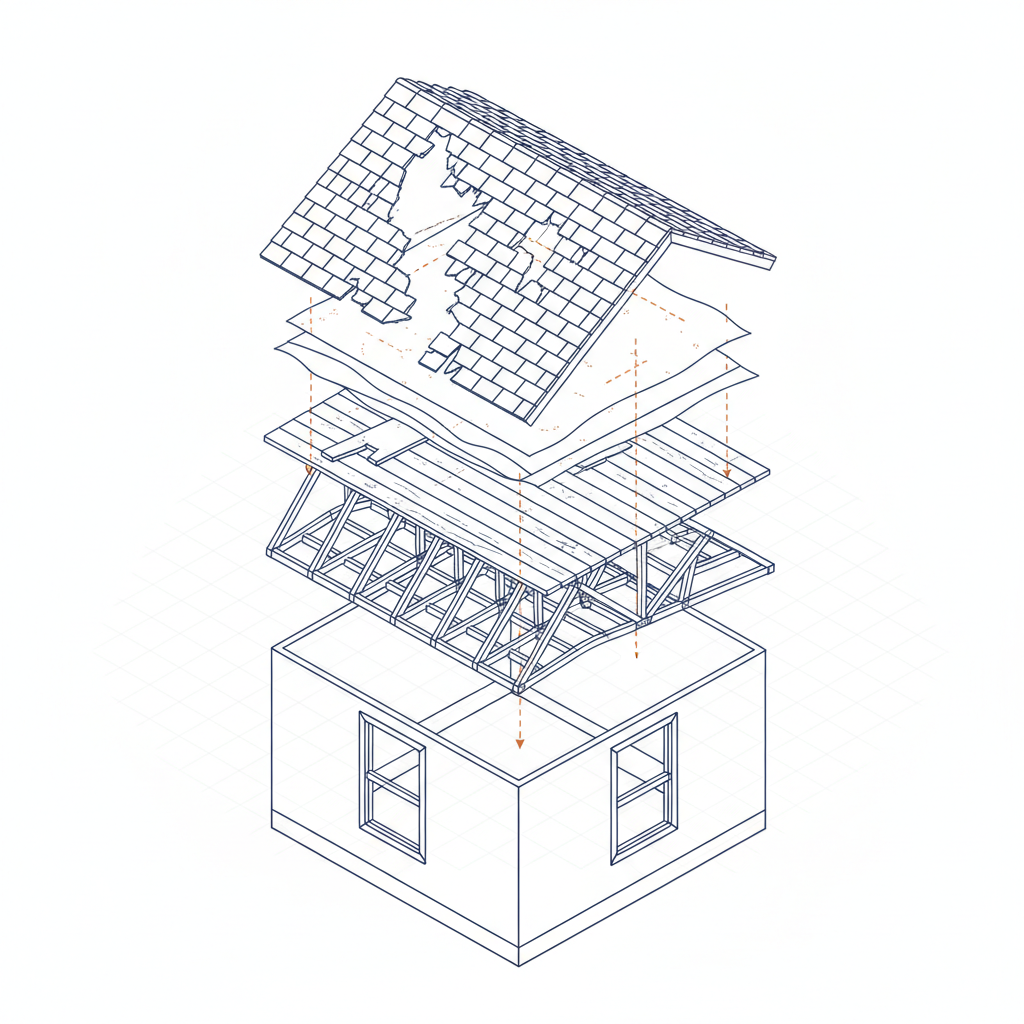
Assessing Underlayment and Decking Exposure or Damage
When shingles are missing, the underlayment is exposed. This secondary water barrier is not designed for long-term exposure to sunlight or weather. Document any visible tears, rips, or degradation of the underlayment. If you can see the wood roof deck (typically plywood or OSB sheathing), it indicates a severe failure. Any signs of soft or sagging decking, visible from the ground or attic, point to structural water damage that must be addressed.
Evaluating Gutter and Downspout System Performance
The gutter system is an essential component of your roof’s water management plan. Inspect gutters for dents, detachment, or blockages caused by storm debris. A significant accumulation of shingle granules in the gutters is direct physical evidence of widespread hail impact or advanced shingle wear. A failing gutter system allows water to damage your fascia, soffit, and foundation, and must be included in the claim.
Phase 5: Compiling the Claim Dossier for Maximum Clarity
You have now collected all the raw data. The final phase is to assemble it into a professional, clear, and undeniable claim dossier. This organized report eliminates ambiguity and demonstrates to your insurance carrier that you are a serious, meticulous homeowner.
Checklist: Assembling a Comprehensive and Undeniable Report
Your dossier should be compiled into a single digital folder with a logical file structure. Use this checklist:
- Cover Page: A simple document stating your name, address, policy number, and the date of the storm (Date of Loss).
- Summary of Damages: A brief, one-page narrative that summarizes the key findings, referencing your grid system (e.g., ‘Significant hail damage observed in sections B1 and B2, with corresponding granule loss found in downspouts.’).
- Photo Log: All your photographs, organized into sub-folders corresponding to your grid system (Folder ‘F1’, Folder ‘F2’, etc.). Rename each photo file to be descriptive (e.g., F1_hail_impact_near_ridge.jpg).
- Annotated Photos: Select the 5-10 most critical photos and use a simple image editor to circle the damage and add a text box with a brief explanation.
- Video Files: Include your walkthrough video(s).
- Contractor Information: Include the contact information and any written estimates from your chosen contractor, RocStout Roofing and Construction.
The Predictable Path vs. Industry Chaos
You have created a perfect, evidence-based dossier. This level of detail and organization is the foundation for a predictable restoration project. However, this effort is entirely wasted if you hand it to a disorganized contractor who perpetuates the very chaos you worked so hard to overcome.
Why Meticulous Documentation is Wasted on a Disorganized Contractor
A disorganized contractor will ignore your detailed report, conduct a superficial inspection, and submit a low, incomplete estimate to the insurance carrier. They miss critical details, leading to endless delays for claim supplements. Their poor communication, vague timelines, and messy job sites reintroduce the stress and chaos you sought to avoid. Your meticulous process requires a partner who operates at the same standard. Anything less guarantees failure.
Our Process: A Commitment to Predictable Restoration
We are a process-driven company built for meticulous clients. Your dossier is not an inconvenience to us; it is the starting point for our own verification protocol. We assign a dedicated Project Manager who is your single point of contact. You receive a detailed, line-item scope of work that mirrors the insurance carrier’s format for total transparency. You get a project calendar, regular progress updates, and a final walkthrough to ensure every detail meets our exacting standards. We do not tolerate chaos. We execute with predictability.
A Note on Price: We Are Not for Bargain Hunters
Our process, our communication, and our commitment to quality are not cheap. We state this directly. If your primary decision-making metric is finding the lowest possible price, we are not the right partner for your project. This is by design. We have structured our entire business to serve clients who value predictability, clarity, and peace of mind above a rock-bottom price. We invest heavily in project management and quality control to eliminate the chaos that plagues the roofing industry. Our clients choose us because they understand that the true cost of a project includes the stress, delays, and mistakes that come with the lowest bid.