Replacing your roof is one of the most significant investments you’ll make in your home. A successful outcome isn’t an accident; it’s the result of a disciplined process. This guide provides the clarity you need to navigate the project, along with a downloadable checklist to ensure every detail is managed with confidence.
Why a Checklist is Essential for a “No Surprises” Project
A checklist is more than a to-do list; it’s a roadmap that transforms a chaotic experience into a predictable one. It empowers you to:
- Stay Organized: Track every critical step so nothing falls through the cracks.
- Make Confident Decisions: Understand the key considerations for materials, contractors, and the process.
- Protect Your Investment: Ensure your new roof is installed to the highest standard, protecting its warranty and its longevity.
Phase 1: The Blueprint – Before Work Begins
This is the most critical phase. Meticulous planning here is what guarantees a smooth project later.
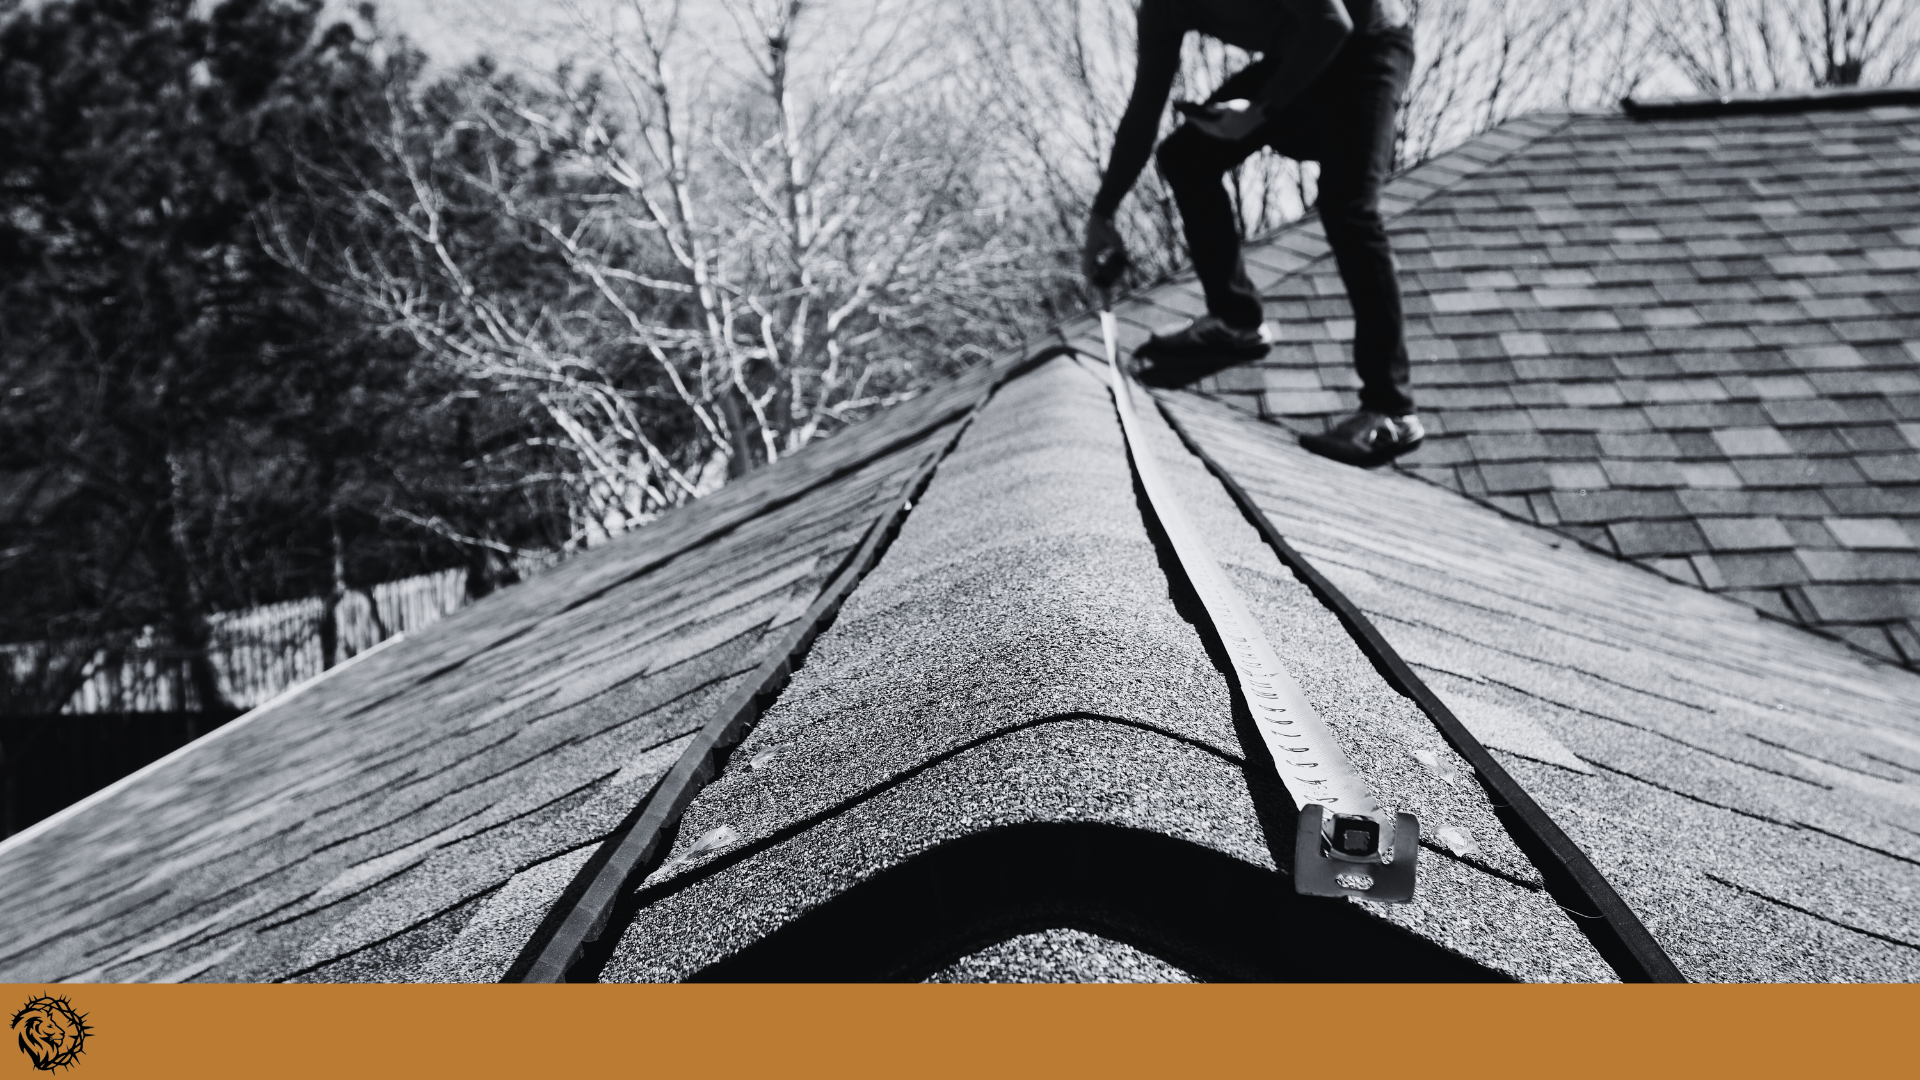
☐ Step 1: File a Claim & Schedule Your Diagnostic Assessment
For storm-related damage, the smartest first step is to file a claim. Because roof damage is a “no-fault” claim, it legally cannot be used to raise your rates. This allows your insurance carrier to begin their process. Simultaneously, schedule a professional, diagnostic assessment with a trusted contractor who can document the full scope of the damage.
☐ Step 2: Research & Vet Your Contractor
Look for a reputable, local contractor. Your checklist should include verifying their:
- State Licensing and Full Insurance Coverage (Liability & Workers’ Comp)
- Expertise in handling local insurance claims
- A library of 5-star Google reviews from homeowners in your area
☐ Step 3: Review the Insurance Scope Proposal
Once your claim is approved, your contractor should provide a detailed Insurance Scope Proposal that mirrors the line items and pricing from the insurance report. This is not a vague “bid”; it’s a transparent plan that ensures your only out-of-pocket cost is your deductible.
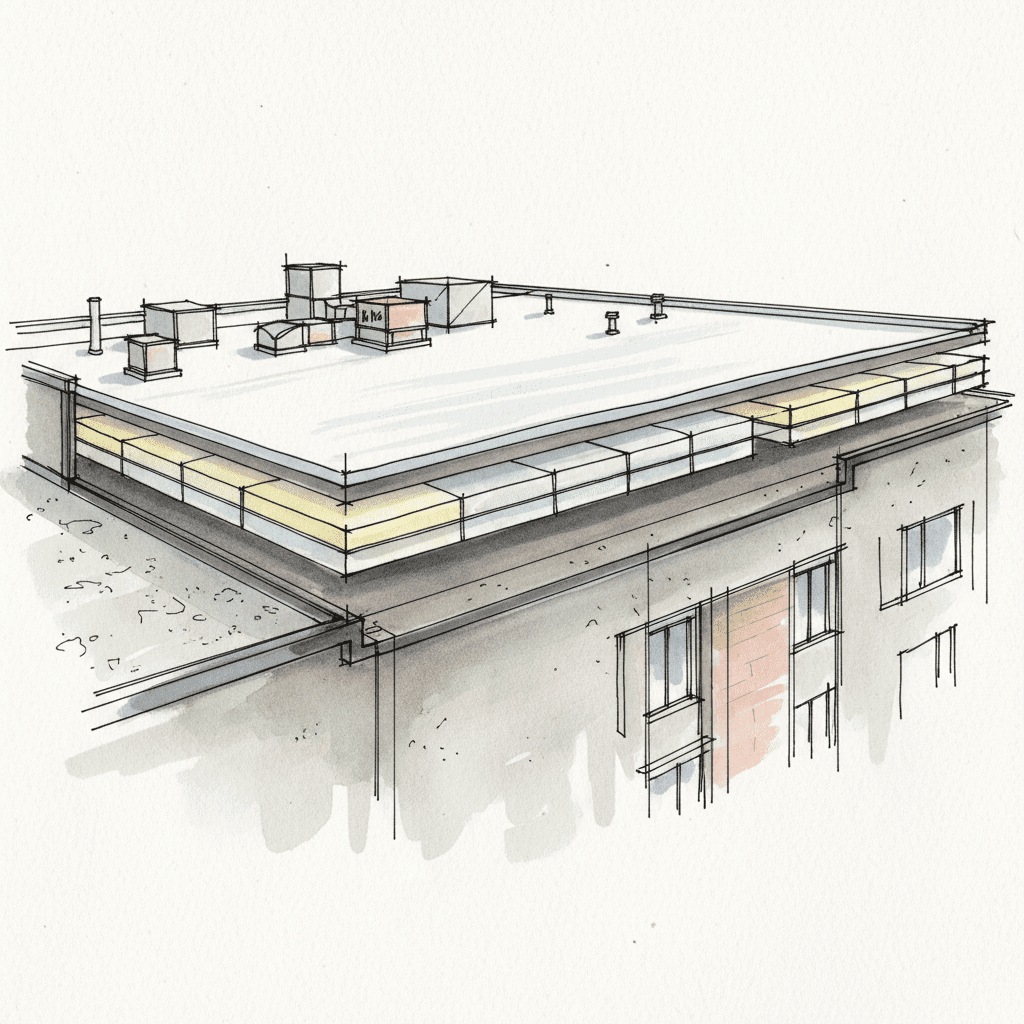
☐ Step 4: Confirm Materials, Permits, and Site Prep
- Materials: Confirm the specific materials (shingles, underlayment, etc.) are what you expect.
- Permits: Ensure your contractor is handling all necessary local building permits.
- Property Protection: Review your contractor’s plan to protect your landscaping, windows, and driveway from debris.
Phase 2: The Execution – During the Replacement
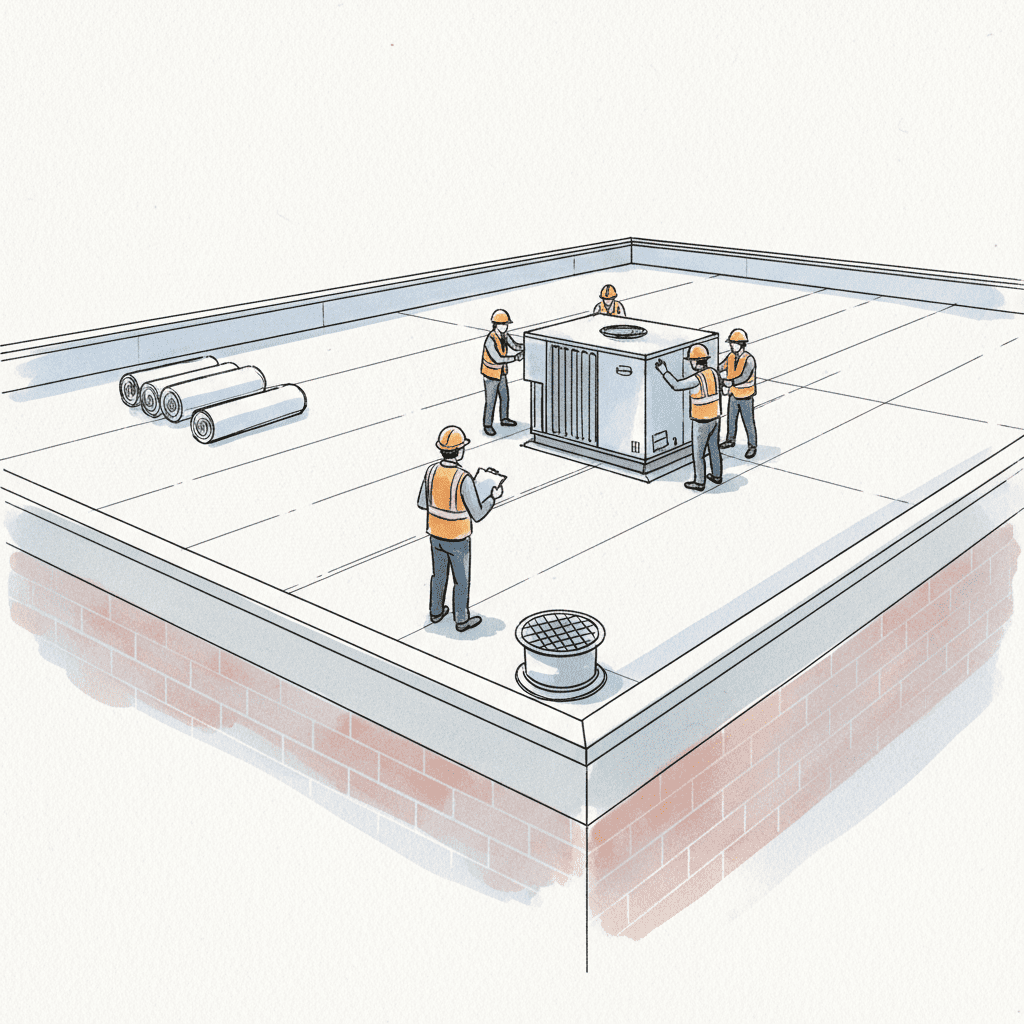
☐ Step 1: Confirm Material Delivery
Verify that the materials delivered are the correct brand, type, and color as outlined in your proposal.
☐ Step 2: Maintain a Clear Line of Communication
Your contractor should provide you with a dedicated Project Manager and a schedule for daily updates. You should never have to guess about the status of your project.
Phase 3: The Verification – After the Replacement
☐ Step 1: The Final Walkthrough
Once work is complete, your Project Manager should conduct a final walkthrough with you to inspect every detail of the new roof and the cleanup.
☐ Step 2: Review and File All Documentation
Ensure you have copies of the final invoice and, most importantly, the warranties covering both the materials and the contractor’s workmanship. Keep these in a safe place.
Download Your Free PDF Checklist
To keep you on track, we’ve compiled these steps into a convenient, printable PDF. Click the link below to download your copy.
RocStout Roof Replacement Checklist