Wind uplift is the aerodynamic force that acts perpendicular to a roof surface, creating negative pressure that pulls roofing materials away from the structure. A roof functions as the primary covering of a building, engineered to provide protection against environmental forces, including wind. The failure to correctly manage wind uplift forces through methodical construction is a primary cause of catastrophic roof system failure.
Defining Wind Uplift: The Forces Acting on Your Roof System
Wind does not simply push against a building; it creates a complex field of pressure differentials across every surface. For a roof system, the most destructive of these forces is not the direct, positive pressure of wind hitting a wall, but the negative pressure, or suction, that pulls upwards. This force threatens the integrity of the entire roof assembly, from the outermost shingle down to the structural supports.
Positive vs. Negative Pressure: The Critical Distinction
As wind flows over the geometry of a roof, its velocity increases. In accordance with Bernoulli’s principle, this increase in velocity results in a decrease in pressure. This creates a pressure differential between the air above the roof (low pressure) and the air inside the building or under the eaves (higher pressure). The result is a net upward force, or aerodynamic lift. This negative pressure is most severe at the roof corners, eaves, and ridges, which act as aerodynamic leading edges. A failure in these zones often precipitates a cascading failure across the entire roof plane.
Why ‘Wind’ Is a System-Level Threat, Not Just a Shingle Problem
A roof is a holistic system, not a collection of independent parts. Its ability to resist wind is determined by the interconnectivity of every component. The term ‘roof covering’ is insufficient. A wind-resistant roof is a continuous load path designed to transfer uplift forces from the shingles, through the underlayment and fasteners, into the roof deck, and ultimately down through the walls to the building’s foundation. A single improperly installed fastener breaks this chain. A loose shingle is not an isolated problem; it is a symptom of a systemic vulnerability.
Anatomy of a Wind-Resistant Roof: A System of Materials & Construction
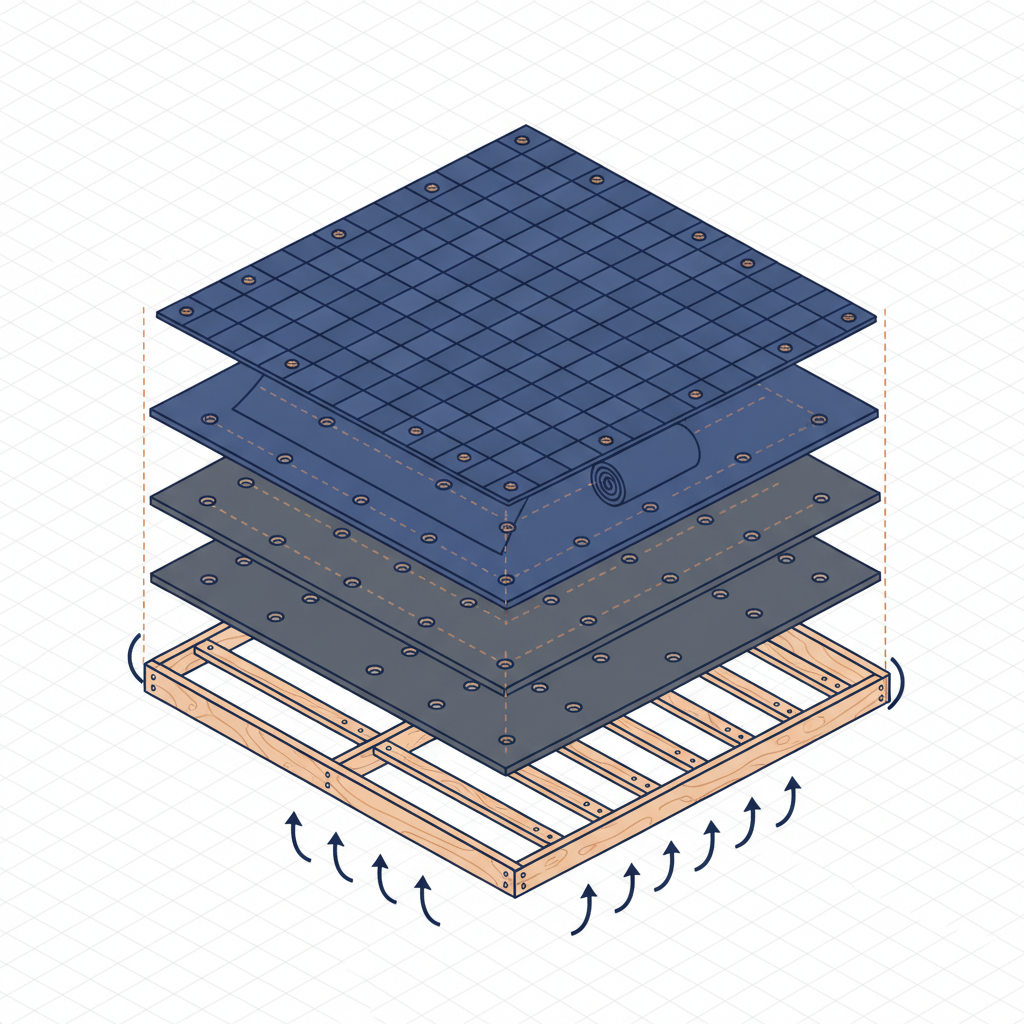
Constructing a roof to withstand specified wind forces requires a meticulous, multi-layered approach. Each component has a distinct role, but its performance is entirely dependent on the correct installation and integration of the others. This is a matter of engineering, not estimation.
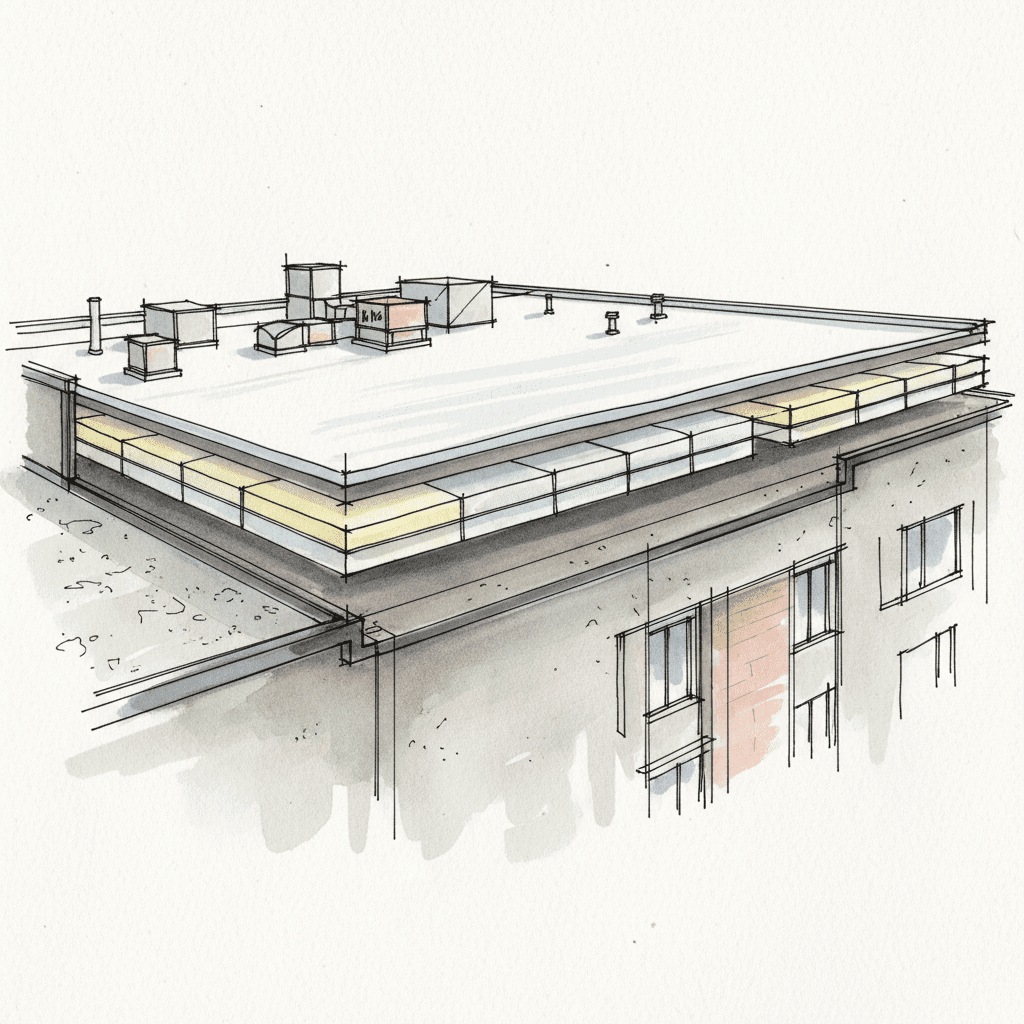
The Foundation: Roof Deck Integrity and Structural Support
The roof deck, typically composed of OSB or plywood sheathing, is the foundation of the entire roofing system. All subsequent layers are anchored to it. If the deck is degraded, water-damaged, or improperly secured to the trusses and walls, the fasteners have nothing to grip. This leads to fastener pull-through, where the nail head pulls completely through the sheathing under uplift load. The structural integrity of the deck is a non-negotiable prerequisite for any successful roofing project.
The Protective Barrier: Underlayment Adhesion and Sealing
The underlayment is the second line of defense against water intrusion should the primary roof covering be compromised by wind or debris. Modern synthetic underlayments, mechanically fastened with cap nails, provide superior tear resistance compared to traditional felt. In high-risk areas, a self-adhered membrane is applied directly to the roof deck, creating a waterproof seal that adheres aggressively. This adds a critical layer of system redundancy, protecting the structure from rain even during a severe wind event.
The Top Covering: Material Choice and Wind Performance Ratings
The final roof covering provides the primary resistance against wind, sunlight, and precipitation. Materials are tested and classified according to rigorous engineering standards. The most common standards are ASTM D7158 for wind resistance of asphalt shingles and UL 2218 for impact resistance. These classifications (e.g., Class F, G, H) correspond to the wind speed the shingle can withstand when installed according to the manufacturer’s precise instructions.
| ASTM D7158 Wind Class | Maximum Basic Wind Speed | Application |
|---|---|---|
| Class D | 90 mph | Standard applications in low-wind regions |
| Class G | 120 mph | Enhanced resistance for moderate wind zones |
| Class H | 150 mph | Required for hurricane-prone and coastal regions |
The Critical Connection: A Methodical Fastening Schedule
Fasteners are the connection that transfers wind loads from the shingles to the structure. Their material, placement, and quantity are dictated by engineering, not convenience. For asphalt shingles, ring-shank roofing nails provide superior pull-out resistance. The nailing pattern is the most critical detail. Manufacturers specify a precise number of fasteners per shingle—typically four in the main field of the roof and six in designated high-wind roof zones (the perimeters and corners). This number is the absolute minimum to achieve the advertised uplift rating. Deviating from this pattern invalidates the rating and compromises the entire system.
Code & Compliance: The Engineering Standards for Wind Protection
Building codes exist to establish a minimum baseline for safety and performance. They are not a target to aim for, but a floor that must be exceeded for a durable installation. Standards like ASCE 7 (Minimum Design Loads for Buildings and Other Structures) provide the engineering framework, including wind speed maps and risk categories, that dictate construction requirements for a specific location.
Determining Your Geographic Wind Zone Requirements
Every location has a ‘basic wind speed’ determined by historical meteorological data. This value dictates the design pressures your roof must be built to withstand. These requirements are not suggestions. Coastal and hurricane-prone regions have significantly higher wind speed requirements and are often subject to local amendments that are even more stringent than the base code. A professional contractor verifies these requirements with the local building official before a single material is ordered.
The Impact of Building Height and Surrounding Terrain
Wind loads are not uniform; they are influenced by the immediate environment. This is defined by an ‘exposure category.’ Exposure B refers to urban and suburban areas with numerous closely spaced obstructions. Exposure C applies to open terrain with scattered obstructions, such as flat, open country. Exposure D is for flat, unobstructed areas directly exposed to a large body of water, facing the highest wind loads. The height of the building also increases the load. These factors must be calculated to specify the correct materials and fastening schedule. Ignoring them is negligent.
Analysis of Common Failures: Where Chaotic Installations Go Wrong
Roofing failures during a windstorm are rarely an indictment of the materials. They are an indictment of the installation process. The chaos of a disorganized, low-bid project manifests as critical errors that guarantee failure under load. These are not accidents; they are the predictable outcomes of a lack of process.
Improper Fastener Placement and Depth
This is the single most common installation error. ‘High nailing’—placing the nail above the manufacturer’s designated nail line—completely misses the thickest part of the shingle assembly. This means the nail is only holding a single, thin layer and offers virtually no resistance to uplift. Similarly, under-driven nails hold the shingle away from the roof, allowing wind to get underneath, while over-driven nails cut through the shingle mat, fracturing it. An uncalibrated nail gun in the hands of an unsupervised installer is a primary source of systemic roof failure. It also prevents the shingle sealant from properly bonding, which is a key component of wind resistance.
Poorly Secured Edges and Perimeters
Wind uplift attacks the edges first. The drip edge and rake edge are the first points of contact. If these metal flashings are not fastened correctly and integrated with the underlayment and starter strip, they create a lip for the wind to catch. This initiates a peeling action that rapidly propagates across the roof. Flashing failure at the gables is a clear indicator of a contractor who did not understand the physics of wind.
System Mismatches: Using Incompatible Materials
A high-performance roofing system relies on component compatibility. Manufacturers design and test their shingles, starter strips, ridge caps, and underlayments to work together. A low-cost contractor will substitute a cheaper, generic starter strip or use cut-up 3-tab shingles for a ridge cap to save a small amount of money. This untested combination of roofing materials voids the manufacturer warranty and creates a system with an unknown, and likely inferior, wind uplift rating.
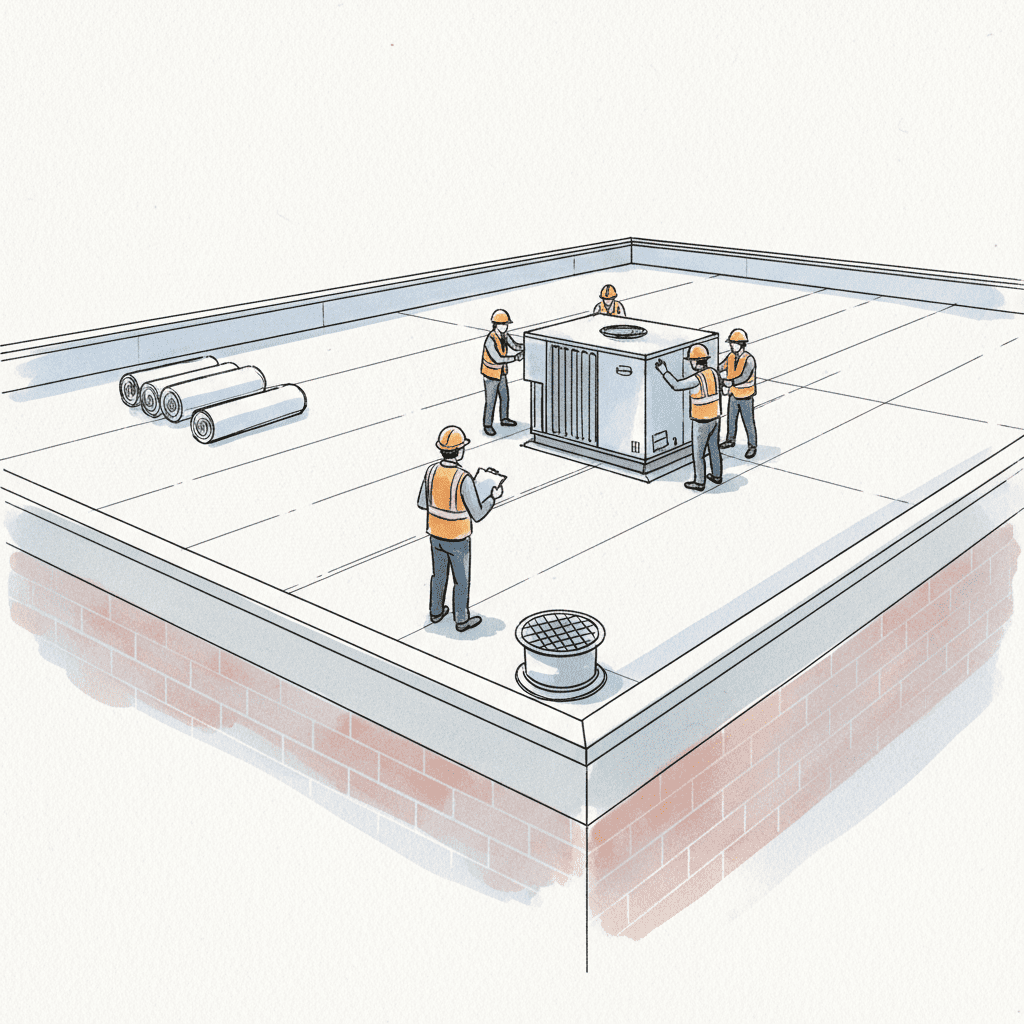
RocStout Roofing’s Methodology: Engineering Predictability Against Wind
The antidote to industry chaos is a rigid, transparent, and verifiable process. We do not hope for a good outcome; we engineer it through meticulous project management. Our entire methodology is designed to eliminate the variables and errors that lead to failure. This is the only sane way to manage a complex construction project on your home.
We begin with an engineering review. We verify your location’s specific building code requirements, wind speed, and exposure category. This data informs a material specification and a documented plan. You know exactly what will be installed and why before work begins.
Our crews work from a quality assurance checklist derived from the engineering plan. Your dedicated project manager verifies precise execution at every stage, including photo documentation of critical details like the nailing pattern. There are no assumptions.
Upon completion, we conduct a final punch list walkthrough. For eligible systems, a manufacturer’s inspection is scheduled to certify the installation. The result is a guaranteed outcome: a stress-free project and a roof with a valid wind warranty.
Is a Process-Driven Approach Right for Your Project?
Our approach is an investment in long-term value and predictability. It requires a commitment to detail that is fundamentally incompatible with a low-price-first mentality. We build for meticulous homeowners who understand that the true cost of a project includes the potential for future failure and the stress of a chaotic process.
Who We Serve: Clients Who Value Order Over a Low Bid
We are the right choice for engineers, lawyers, project managers, and other organized clients who require precision and have high standards. Our clients understand that a detailed plan and a verifiable process are the most effective forms of risk mitigation. If your primary decision criterion is the lowest possible price, we are not the right contractor for you. We maintain our standards by working with clients who share our commitment to doing things the right way, the first time.
Our Promise: A Predictable Process, Not a Vague Timeline
When you work with us, you are buying a predictable, managed experience. This means transparent pricing without surprise charges. It means proactive communication from a dedicated project manager you can actually reach. It means a clean and organized job site that respects your property. We offer accountability and order. We are the antidote to chaos.