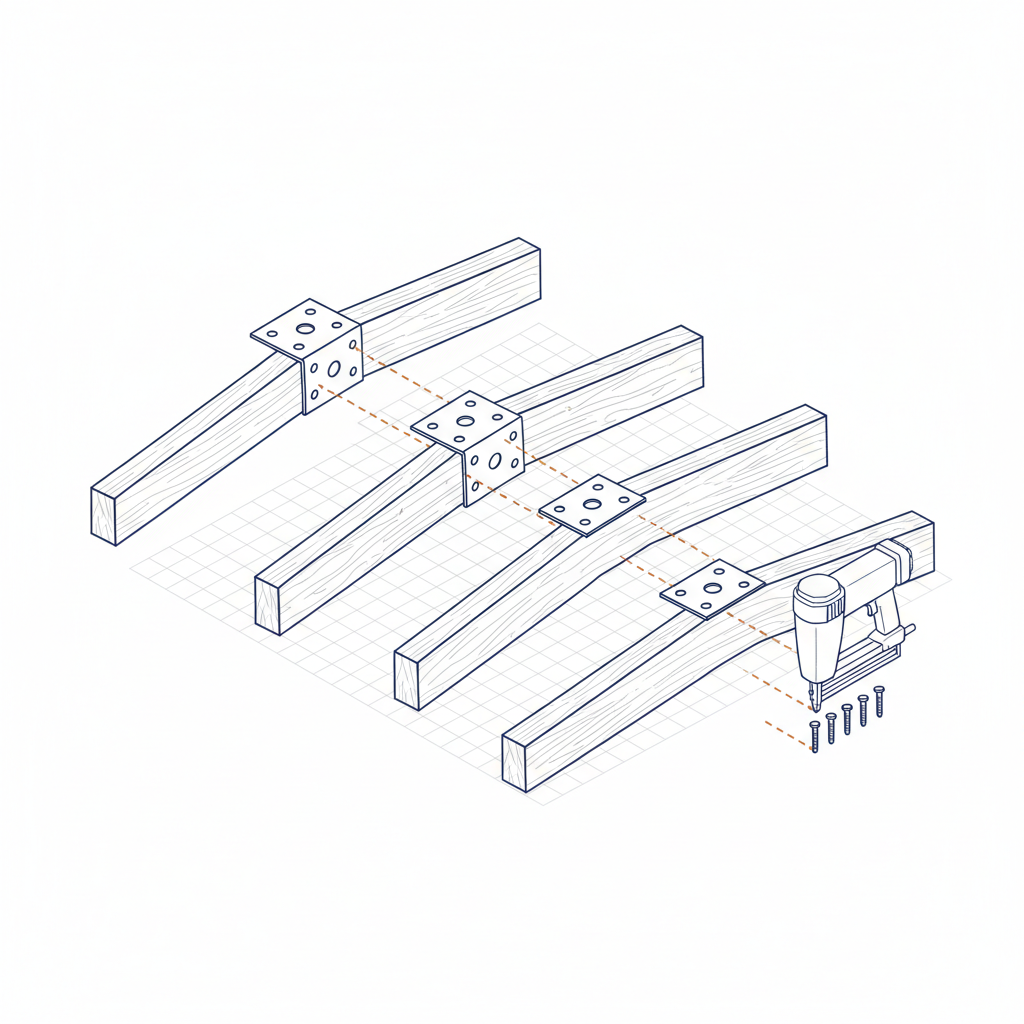
Nail gun calibration for roofing is the systematic adjustment of a pneumatic fastener tool’s air pressure and depth setting to ensure every nail penetrates the roof sheathing to the exact specification required by the shingle manufacturer. This procedure is not a minor detail; it is a critical control point in the construction of a roof, the primary building system that provides protection against wind, rain, and extremes of temperature. The standard roofing industry process often treats fastening as a low-skill, high-speed task. This is the origin of chaos. It leads to premature system failure, voided manufacturer warranties, and costly water intrusion.
RocStout Roofing and Construction operates on a different principle. Our methodology is built on process, precision, and predictability. If your primary decision-making criterion for a roofing project is the lowest possible price, we are not the right contractor for you. Our process is designed for meticulous homeowners who understand that the true cost of a roof is measured over its entire service life, not by the initial invoice.
The Physics of Fastening: Why Nailing Technique is Non-Negotiable
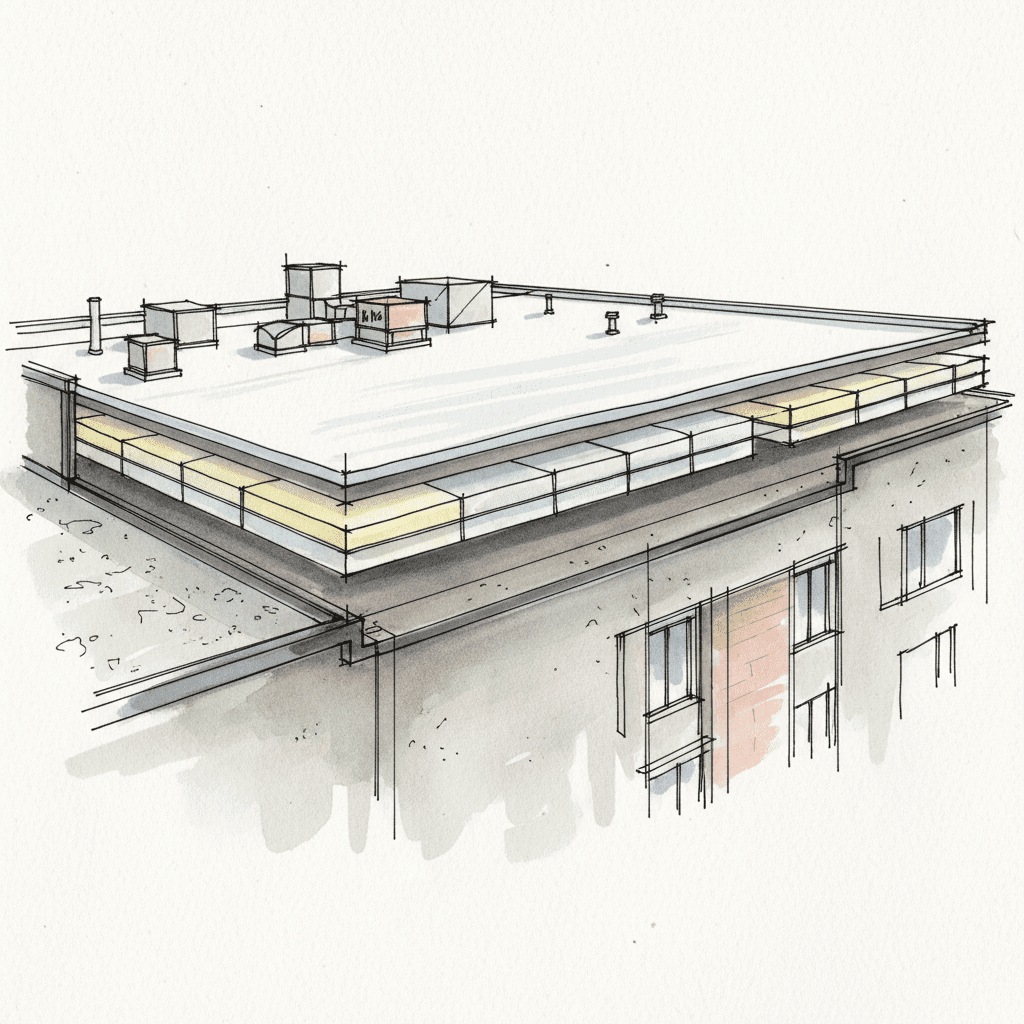
A roof is not merely a covering; it is an engineered system designed to withstand specific environmental loads. The primary force working to deconstruct this system is wind uplift. The quality and placement of fasteners are the most critical factors in a roof’s ability to resist these forces and maintain its structural integrity.
Nailing as a System Component, Not an Afterthought
Each fastener is a load-transfer point within the complete roof system. Its function is to anchor the shingle, a flexible material, to the rigid structural roof deck. This connection allows the immense forces of wind to be distributed across the entire structure of the building rather than being concentrated on a single shingle. When properly executed, the thousands of nails in a roof system work in concert to create a unified, monolithic shield.
The fastener’s ability to manage this load is defined by two key metrics:
- Shear Strength: The nail’s resistance to forces applied perpendicular to its shank, preventing the shingle from sliding down the roof plane.
- Withdrawal Resistance: The nail’s ability to resist being pulled straight out of the roof decking, which is the primary defense against wind uplift.
A contractor who views nailing as simple labor fundamentally misunderstands the physics involved. It is a precise technical operation that determines the performance of the entire building envelope.
Quantifying the Risk: Wind Load and Shingle Delamination
The consequences of improper fastening are not theoretical. They are quantifiable failures. When a nail is misplaced or driven with incorrect force, it creates a weak point. Wind exploits this weakness, getting under the shingle and creating a peeling effect. This action leads to shingle delamination, where the laminated layers of a modern architectural shingle are torn apart. The result is catastrophic failure long before the material itself has degraded.
Crucially, manufacturer warranties cover defects in the roofing materials themselves. They do not cover installation error. Improper fastening is the definition of installation error. Therefore, a single crew member with an uncalibrated nail gun can void the multi-thousand-dollar material warranty on your entire roof in a single afternoon. This is the chaos that a process-driven methodology is designed to prevent.
Nail Selection Protocol: Matching the Fastener to the System
The selection of the fastener itself is the first step in a zero-defect installation. The building code provides minimum requirements, but ensuring long-term asset longevity demands a more rigorous specification based on the specific roofing materials and local environmental conditions.
Material & Coating Analysis for Longevity
Corrosion is a primary failure vector for roofing fasteners. A rusted nail loses its structural integrity, compromising its holding power and staining the roof surface. The nail’s material composition and protective coating are therefore non-negotiable points of quality control.
| Fastener Type | Corrosion Resistance | Primary Application |
|---|---|---|
| Electro-Galvanized (EG) | Low | Not acceptable for exterior use. Often used by low-bid contractors. Fails quickly. |
| Hot-Dip Galvanized (HDG) | High | The industry standard for asphalt shingle roofing. A thick zinc coating provides durable protection. |
| Stainless Steel | Very High | Specified for coastal environments with salt spray or roofs made of certain materials like cedar or slate. |
Shank and Head Specifications for Maximum Holding Power
Beyond the material, the physical geometry of the nail is engineered for performance. Every component serves a purpose in anchoring the shingle to the roof sheathing.
- Nail Head: A low-profile, flat head with a minimum diameter of 3/8-inch is required. This large surface area maximizes contact with the shingle, providing high pull-through resistance without cutting into the material.
- Shank: The body of the nail must be at least 12-gauge. A smooth shank is a minimum, but for superior withdrawal resistance, a deformed shank (ringed or barbed) is the superior choice. It creates a mechanical lock with the wood fibers of the roof deck.
Using fasteners that do not meet these specifications is a direct compromise of the roof’s structural integrity.
The Nailing Zone: A Zero-Tolerance Approach to Placement
Where the nail is placed is as important as the nail itself. Shingle manufacturers invest millions in engineering a specific nailing zone on each shingle. Adherence to this zone is mandatory for performance and warranty compliance.
Mapping the Manufacturer’s Nailing Strip
Modern laminated shingles have a designated nailing strip, often called the ‘common bond area.’ This is the only location where a fastener should be placed. This strip is precisely located to ensure the nail penetrates through both layers of the laminated shingle, fusing them together and to the deck. Placing a nail even half an inch outside this target zone constitutes a defect that compromises the entire shingle course.
The Critical Angle: Ensuring 90-Degree Penetration
The nail gun must be held perfectly perpendicular to the roof surface. A nail driven at an angle will not seat properly. The edge of the nail head will dig into the shingle, cutting the fiberglass mat and creating a tear point. Furthermore, the raised head prevents the overlying shingle from sealing correctly, creating a small channel that directs water directly to the nail penetration point. This is a guaranteed leak.
Depth Calibration: Preventing Under- and Over-driving
The final variable is fastener depth, which is controlled by the nail gun’s calibration. There is no tolerance for error.
- Over-driven Nails: When the air pressure is too high, the nail head is driven through the shingle’s surface, fracturing the fiberglass mat. This is known as a ‘blow-through.’ It is functionally identical to punching a hole in the roof.
- Under-driven Nails: When the air pressure is too low, the nail head is left protruding above the shingle surface. This prevents the sealant strip on the overlying shingle from activating and bonding properly. Over time, the raised nail head can also puncture the shingle above it.
A correctly driven nail is set perfectly flush with the shingle surface. Its head makes firm, even contact without breaking the mat or protruding in any way. This requires constant vigilance and equipment adjustment as ambient temperature and compressor performance change throughout the day.
Common Failure Points: A Checklist for Identifying Contractor Chaos
A roof installed with a chaotic, non-systematic approach will exhibit predictable failure patterns. You can identify these defects yourself, often from the ground or during a final walk-through. Recognizing them is the key to rejecting poor workmanship before you make the final payment.
“High Nailing”: The Primary Cause of Wind-Related Failure
This is the most common and destructive installation error. ‘High nailing’ refers to placing fasteners above the manufacturer’s designated nailing strip. This error means the nail only penetrates the top layer of the shingle, completely missing the common bond area. The sealant strip is the only thing holding the bottom edge of the shingle down. It is not designed to withstand wind loads on its own. A high-nailed roof is guaranteed to suffer shingle blow-off, and the manufacturer warranty will be voided.
“Blow-Throughs”: The Result of Uncalibrated Equipment
A blow-through is an over-driven nail that has fractured the shingle’s fiberglass mat. It is a direct result of an uncalibrated nail gun with excessive air pressure. Look for concave circles or divots around the nail head. Each blow-through is a potential leak and a weak point that can be torn open by wind. This signifies a lack of professional oversight and a focus on speed over precision.
“Shiners”: Missed Framing and Deck Penetration
A ‘shiner’ is a nail that missed the roof deck’s framing member (the rafter or truss). You can identify these by entering your attic with a flashlight. The tips of these nails will be visible, or ‘shining,’ as they have penetrated the sheathing but not the structural wood. While a few may be unavoidable, a large number of shiners indicates that the crew was not following framing lines and dramatically reduces the roof’s overall wind uplift resistance.
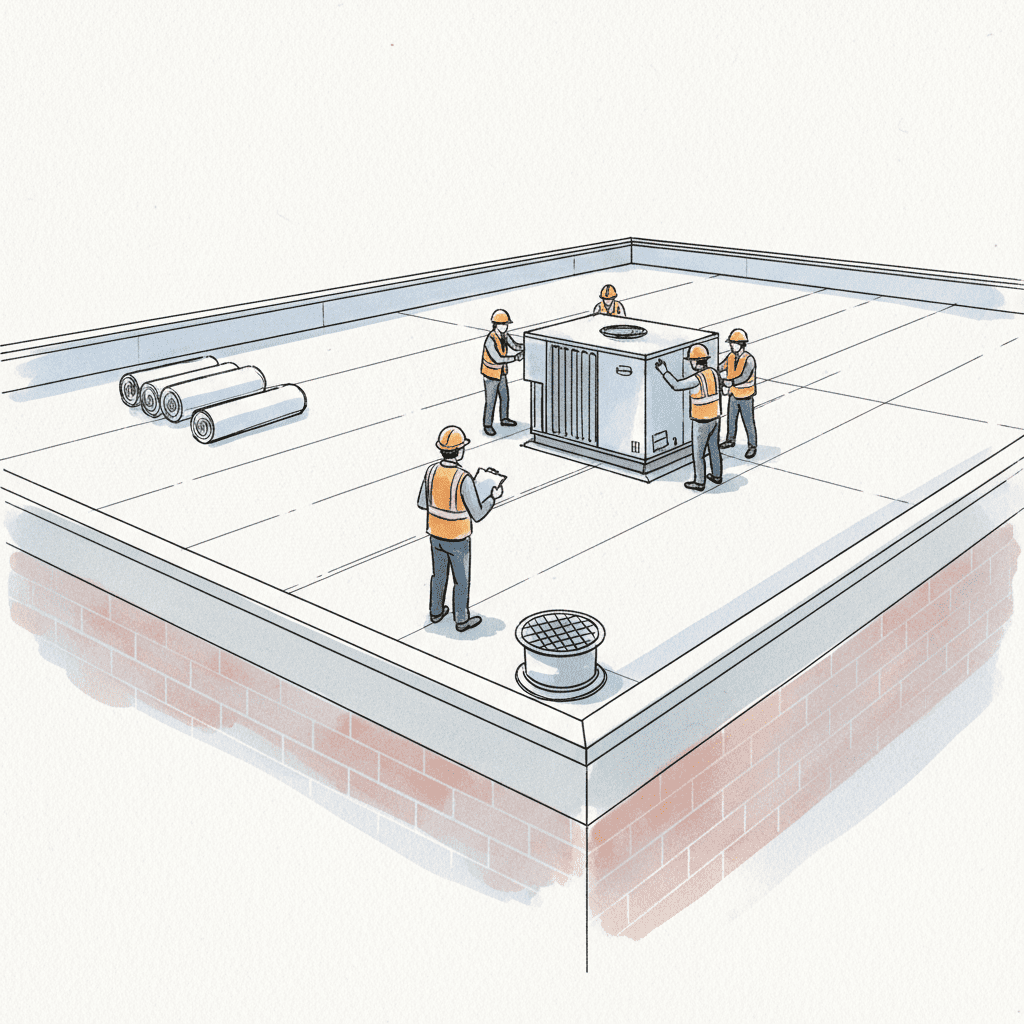
Our Methodology: Executing a Predictable, Zero-Defect Nailing Strategy
The antidote to chaos is a non-negotiable process. We have engineered the common points of failure out of our system by implementing a three-stage quality control methodology. This is how we deliver a predictable outcome on every project.
Each morning, the Project Manager and installation crew conduct a pre-work briefing. Nail guns are calibrated to match shingle type and current temperature. Air compressor output is verified. Fastener lots are checked against the project specification sheet.
Your dedicated Project Manager is on-site, not managing from a truck. They perform random spot-checks on nailing patterns, depth, and placement throughout the day. You receive photo documentation and daily progress reports directly from them.
Before demobilization, a comprehensive 40-point inspection is performed, with a specific focus on fastener compliance in critical zones like eaves, rakes, and valleys. This inspection report is a formal project deliverable for your records.
Only after the system passes our zero-defect protocol do we consider the project complete. You sign off on a predictable, perfectly executed installation, and we activate your workmanship and manufacturer warranties.
This systematic approach removes chance and guesswork from the equation. It is the only way to guarantee that your new roof will perform as the manufacturer intended for its full service life.
A roof’s ability to provide protection is not determined by its materials alone. Performance is dictated by the precision of its installation, and fastening is the most critical installation variable. Every nail represents a decision—a point of potential failure or a mark of system integrity.
We have engineered chaos out of the roofing process. Our value is not in being the cheapest option, but in being the most predictable. We provide homeowners with a controlled, transparent, and technically proficient experience that guarantees the long-term integrity of their most critical asset. This is the only sane way to manage a roofing project.